Smart Lock + Doorbell: Complete Entry Security
By Priya Menon • 3rd Mar
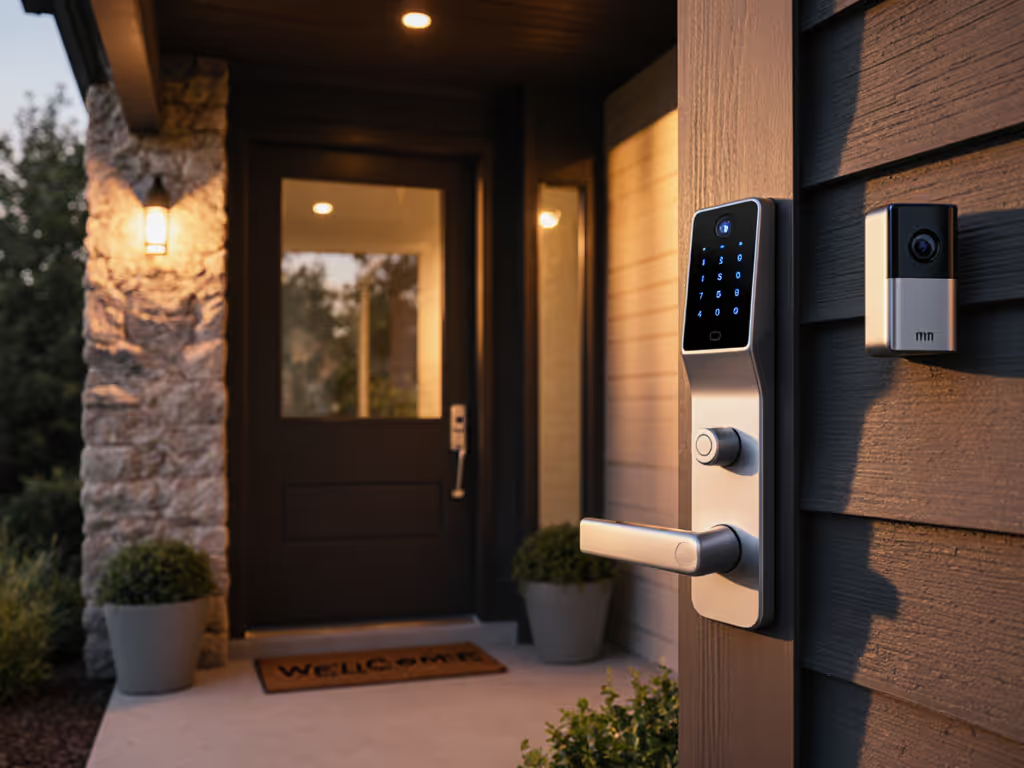
Combining a smart lock with doorbell camera into a single integrated entry security system cuts through the clutter of managing separate devices. Rather than juggling a smart lock app, a doorbell camera app, and separate chime settings, a unified system handles authentication, video monitoring, and alerts from one control point. But the technology only works if the fundamentals are solid, and that's where most implementations stumble.
Reliable alerts beat shiny features on real porches. A two-second face unlock means nothing if the Wi-Fi drops during winter, or if the cold saps the battery before the delivery window closes. An integrated system is only as trustworthy as its weakest component: power stability, network consistency, and motion tuning all matter more than the marketing spec sheet.
Understanding Integrated Entry Security Systems
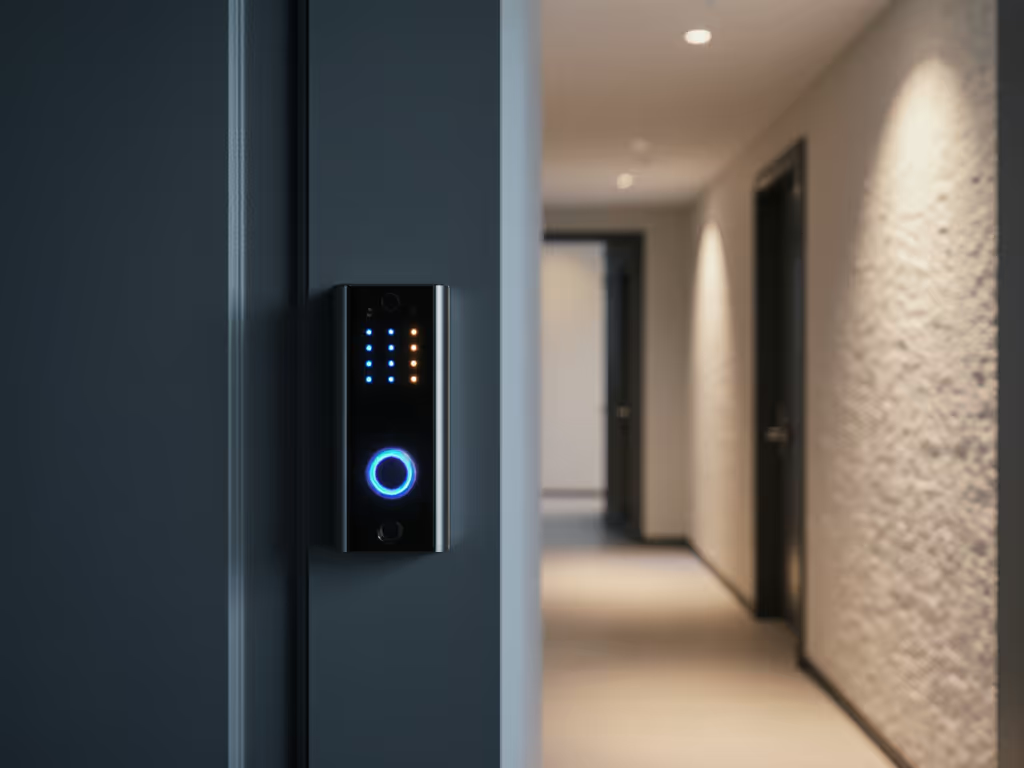
A smart lock with doorbell camera system combines three functions into one intelligent layer at your front door. You get keyless entry (via face, fingerprint, PIN, app, or physical key), a video doorbell for visitor identification and two-way communication, and biometric access control, all synced to one hub. This integration eliminates the dead zones that plague separate devices: one network connection, one power source (or two coordinated ones), and one notification pipeline to your phone.
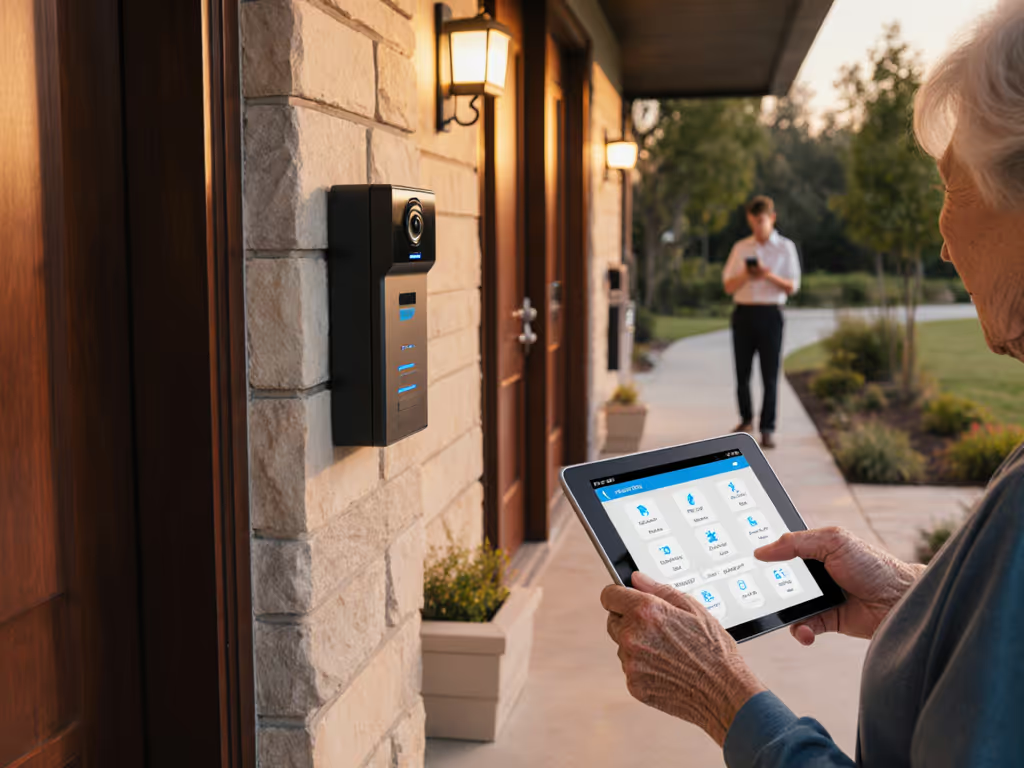
The appeal is clear. Instead of rushing to answer a dedicated doorbell alert on your phone, then opening a second app to unlock the door remotely, or asking a visitor to wait while you fumble with credentials, you can see who's there, verify their face or request a PIN, and grant access in seconds. The access log shows everyone who entered, when, and how: a single audit trail rather than three fragmented ones.
Yet integration also concentrates risk. If the primary device loses power, Wi-Fi, or has a software bug, you lose doorbell video and smart unlock at once. Renters face extra friction: a three-in-one unit may violate lease terms or HOA rules where a slim doorbell might have been acceptable. If you're leasing, see our no-drill video doorbell solutions to stay lease-compliant without losing entry security. Business owners need hours scheduling and longer retention windows, features not always present in residential-first designs.
The Reality Check: Why Most Deployments Fail
Integrated systems fail for three recurring reasons:
Wi-Fi instability near the door. Doorbell cameras and smart locks sit in the RF shadow of metal door frames, concrete headers, or exterior walls. If your access point lives in a living room two rooms away, your device may roam between weak signals or drop off entirely during peak data use (streaming video, video calls). One January, a family asked why their bell never rang before a drop-off. Logs showed the device roaming between networks every 30 seconds and suffering connectivity spikes. The fix: moving the access point onto a non-DFS 5 GHz channel boosted signal strength at the door, and notifications dropped from 45 seconds to eight seconds overnight. Simple, but it required measurement and willingness to reprioritize router placement.
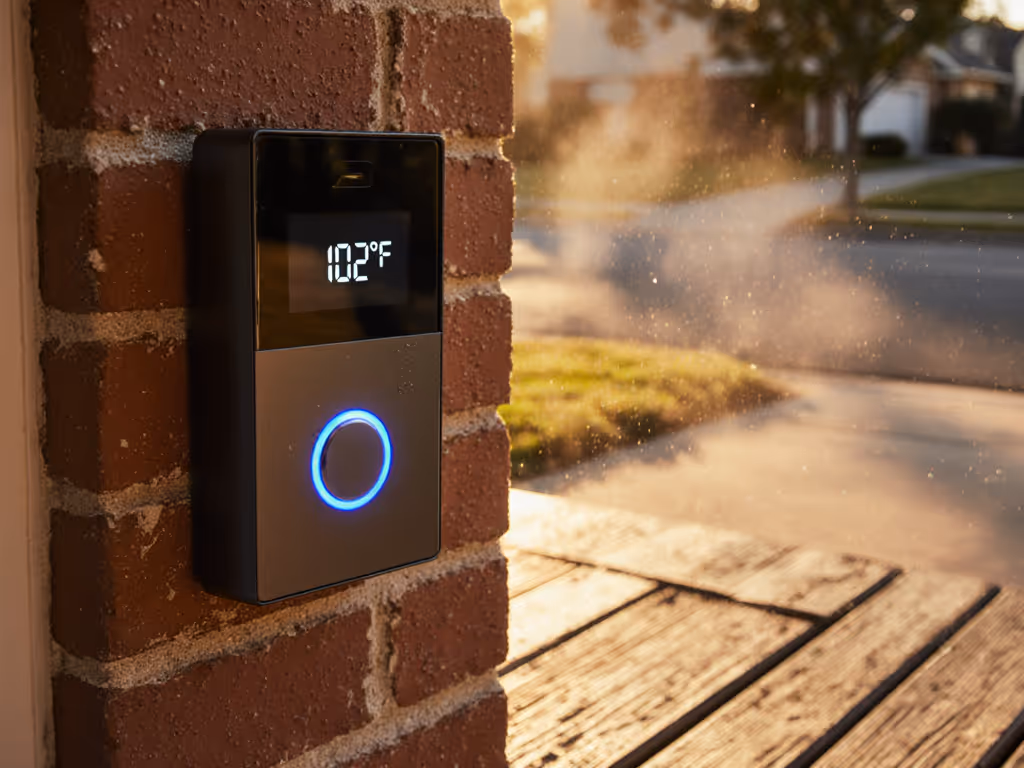
Battery drainage in cold climates. Biometric processors, video encoders, and two-way audio drain batteries faster than manufacturers' indoor lab tests suggest. Lithium-ion cells lose 20-50% of their rated capacity below 32°F. A device promised to last three months may need a charge every four weeks in winter. If you don't commit to monthly inspections, you'll miss deliveries silently.
False-alert overload. A sensitive motion detector near a busy street flags every passing car and pedestrian. Within days, notifications become noise. You disable the alerts, then miss the actual package. Integrated systems often let you define activity zones and sensitivity tiers, but those require tuning, a step many owners skip.
Reliability is designed, not wished into existence. It demands honest assessment of your Wi-Fi coverage, a wired power upgrade if battery-only isn't viable, and methodical motion-zone configuration with testing.
Step 1: Audit Your Power and Network Baseline
Before choosing a device, measure what you're working with.
Power Reality:
- Check whether your doorbell wiring includes a transformer. Turn off your breaker, remove the doorbell cover, and look for two small wires connected to a small box (often behind the interior chime). If present, note the voltage (typically 8-24 VAC).
- If no transformer exists and you're comfortable with basic electrical work, budget about $40-80 and four hours for a licensed electrician to add one. Wired power is nonnegotiable for mission-critical deployments; if it's not reliable, it's not worth running on batteries alone.
- If you're renting or cannot install a transformer, confirm the device supports solar trickle charging and accepts plug-in power adapters (many integrated units limit solar to their own brand).
Network Reality:
- Use a Wi-Fi analyzer app (Android: WiFi Analyzer; iOS: WiFi SweetSpots) and stand at your front door. Look for signal strength at least -50 dBm (ideally -40 to -30 dBm). If your strongest signal is below -65 dBm, your doorbell will struggle. Plan to relocate your router, add a mesh node, or position an outdoor access point.
- Check your 2.4 GHz and 5 GHz channel utilization. Crowded 2.4 GHz environments (apartments, dense neighborhoods) can force devices to the slow, interference-prone channel 1 or 11. 5 GHz is cleaner but has shorter range. Integrated systems vary: some support 5 GHz dual-band, others 2.4 only. If your internet is slow or inconsistent, our tests of reliable low-bandwidth doorbells can guide your model choice.
Storage & Notification Path:
- Clarify whether your chosen system stores video locally on a hub or micro-SD card, uploads to cloud, or both. Local storage avoids subscription and latency; cloud backup improves accessibility but introduces privacy and cost questions. Compare cloud vs local storage to pick the right balance of access, privacy, and cost.
- Test notification latency in your environment. Send a test trigger and time from event to phone alert. Anything under 10 seconds is solid; over 30 seconds, you'll likely miss the interaction.
Step 2: Compare Systems by Reliability Metrics
The market offers several leading smart lock compatibility ecosystems. Evaluate them against your actual constraints, not glossy feature lists.
Chamberlain myQ Secure View 3-in-1 combines a smart lock, 2K HDR doorbell, and biometric camera into one device. It promises 2-second face unlock and five entry methods (face, fingerprint, PIN, app, key), plus front-door monitoring. The appeal is obvious: no separate doorbell app, one hub, one power source. The caveat: early adopters in cold climates reported battery drain similar to other battery-primary units, and the biometric processor adds power draw. Before committing, ask the vendor for published battery-life data at 32°F and below, not lab conditions.
Nest x Yale Smart Lock ($279) is the current benchmark for integrated entry security that prioritizes simplicity. It's a pure smart lock with keyless PIN and app-based unlock, paired with a video doorbell-grade camera (integrated into the same unit). It's Wi-Fi native, works with Google Home, and has strong reviews for ease of install. The gap: it's not a full three-in-one with biometric unlock; it's a smart lock with video. For many households, that's enough, and fewer sensors mean lower power draw and fewer failure points. Battery life is rated around 3-6 months depending on usage; real-world reports from cold regions suggest 6-12 weeks.
August Smart Lock Pro ($199) with its Wi-Fi Bridge is the best option for renters and multi-unit property managers. You install it over your existing deadbolt (no drilling), keep your original key as backup, and set unlimited temporary and permanent PINs. It integrates with Z-Wave and non-Z-Wave systems alike (August, ADT, SimpliSafe, Vivint compatible). The video doorbell is sold separately, so you can mix brands if needed, reducing lock-in risk. Battery life approaches 12 months on standard AA batteries. The trade-off: it's not a single integrated unit, so you manage two apps and two batteries.
Schlage Connect and Kwikset SmartCode 913 are best-in-class for DIY installers with existing smart-home hubs. Both support multiple wireless protocols (Z-Wave, Zigbee, Matter depending on model), integrate with Alexa, Google Assistant, and Apple HomeKit, and have been field-tested in millions of installs. Schlage is rated easiest to install. Kwikset offers a fingerprint sensor (one-touch locking) and holds 50 users with 100 fingerprints, valuable for multi-roommate or business use. Neither is a three-in-one; they're deadbolts. You pair them with a separate video doorbell. This modular approach reduces the chance of a single failure taking down both lock and video.
Ultra-premium integrated option: Danalock ($318.75 starting) uses AES-256 encryption (military-grade) and supports up to 6 keyless entry methods plus biometric unlock. Rated highest for battery life. The cost reflects European engineering and a smaller, more selective user base. Ideal if privacy is your paramount concern and you want a European-made alternative to U.S. firms. Not available everywhere; confirm local support before committing.
Step 3: Design Your Secure Entry Workflow
Once you've chosen a device, configure it for your porch, not the generic defaults.
Motion Zone and Sensitivity:
- Define your activity zone: the area directly in front of your door, excluding the sidewalk or driveway if possible.
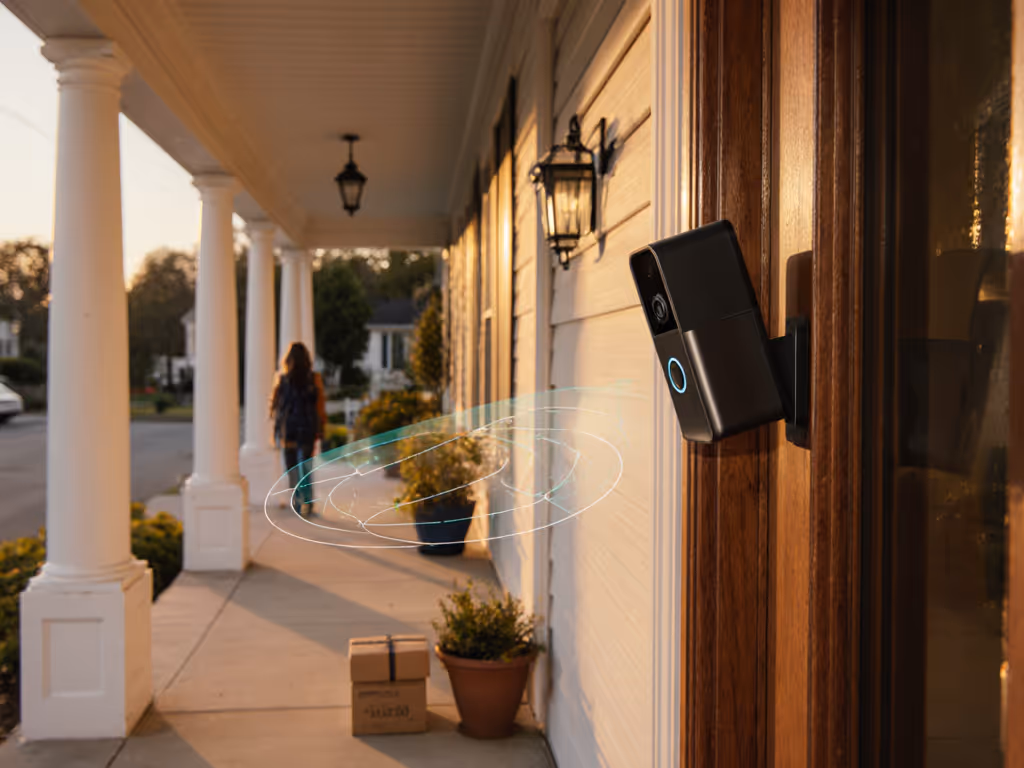
- If your device has object classification (person vs. vehicle vs. animal), enable it and test. Walk past the door, drive by in a car, let a pet cross the zone. Log which alerts fire. Adjust sensitivity or zone geometry until vehicles and pets are ignored but visitors trigger reliably. See how AI person detection cuts false alerts and when to rely on it over simple motion zones.
- Schedule suppression during high-traffic periods (e.g., mute alerts 9-5 on weekdays if you work nearby and foot traffic is constant).
Access Credentials:
- Reserve face recognition for household members with proven consistent lighting at your door. Add PIN codes for delivery couriers and guests; PINs are more reliable than faces in variable lighting and sunglasses.
- Create temporary PINs for contractors or service providers with expiration dates; revoke them immediately after the appointment.
- Test two-way audio quality. Speak clearly to an invited visitor and ask them to repeat instructions; latency and speaker volume matter more than spec-sheet claims.
Audit and Monitoring:
- Review your access log weekly. Look for unlock attempts by unknown users, repeated failed codes, or traffic patterns that surprise you.
- Set up notifications for entries between midnight and 6 AM (when intrusions are likeliest) and review them daily.
- Test your fallback: if the Wi-Fi drops, can you still unlock with a PIN on the physical keypad? Can household members use their keys? Verify this works before you rely on the system.
Step 4: Long-Term Maintenance and Realistic Costs
Integrated systems cost more upfront but can save money on separate doorbell and lock subscriptions. However, ownership includes hidden costs.
Transparent Total Cost of Ownership (3-5 years):
- Device: $199-319 (lock + doorbell combo)
- Hub or bridge (if required): $50-100
- Professional installation (if needed): $100-300
- Cloud storage (if you opt for it): $3-10/month
- Replacement batteries (if not wired): $10-30 annually
- Maintenance and inspection time: 1-2 hours per year
Add these up honestly. A wired system with local storage avoids the subscription tax; a battery-only unit with cloud storage and a separate video-doorbell app multiplies the complexity and cost. For fee-free options that still deliver solid security, start with our no-subscription doorbell picks.
Maintenance Checklist (Quarterly):
- Test biometric unlock (face, fingerprint) in various lighting (morning sun, overcast, dusk).
- Inspect the camera lens for dirt, condensation, or spider webs; clean with a microfiber cloth.
- Check battery voltage (if battery-powered); note the date and trend to predict replacement timing.
- Review access logs and permissions; revoke credentials for people who no longer need access.
- Confirm Wi-Fi signal strength at the door; if it drops below -60 dBm, consider router repositioning.
- Test the physical key backup and PIN override to ensure they work if the app fails.
Vendor Evaluation:
- Confirm the manufacturer publishes security updates monthly or quarterly (not ad hoc).
- Look for transparent privacy policies: does the vendor upload video by default? Can you disable it? Do they share data with law enforcement without a warrant?
- Read real customer reviews filtered for your climate and use case (apartments, busy streets, cold winters). Spec-sheet ratings differ from field results.
- Check the warranty and theft-replacement policy. Does the vendor replace a stolen device at no cost? August and Nest have strong track records; verify current terms.
Bringing It Together
A smart lock with doorbell camera system that actually works starts with honest diagnosis of your power, network, and threat model. Biometric unlock and two-second unlocks sound compelling; they're only useful if your Wi-Fi is stable, your power is reliable, and your motion zones don't spam you with false alerts every 30 seconds.
Choose systems designed for your constraints, wired power for homeowners, modular lock-plus-doorbell combos for renters, and vendor track records that prioritize transparency over feature inflation. Configure carefully: spend an afternoon tuning activity zones, testing credentials in realistic lighting, and confirming that your fallback (physical key, PIN pad) works when the app fails.
Integrated systems can simplify your front-door experience and improve response times to visitors and couriers. But they concentrate risk. Start with a wired power upgrade if possible, confirm strong Wi-Fi coverage at your door, and choose a device with a straightforward two-way communication path and local storage. The goal isn't the slickest doorbell video, it's the alert that arrives in eight seconds, the unlock that works in winter, and the access log you can trust to tell you who came and when.
Next Step: Audit Your Door Today
Don't order a device yet. Spend this weekend on three quick tests:
- Power check: Turn off your breaker and inspect your doorbell wiring. If you see a transformer box, note the voltage. If not, budget for installation or plan a battery-refresh schedule for winter.
- Wi-Fi strength test: Use a free analyzer app at your front door. If signal is below -50 dBm, reposition your router or add a mesh node before buying.
- Cost realism: List all components (lock, doorbell, hub, power, storage, subscription) and 3-5 year total cost. Compare to separate systems. If the integrated option costs 40% more, verify the reliability gains justify it in your use case.
Once you've confirmed your foundations, return to the comparison above and pick the system that matches your environment, not the one with the most features. Reliable alerts and dependable access beat shiny specs every time.
Related Articles