Adjustable Angle Doorbells: Tested Models for Coverage
By Priya Menon • 10th May
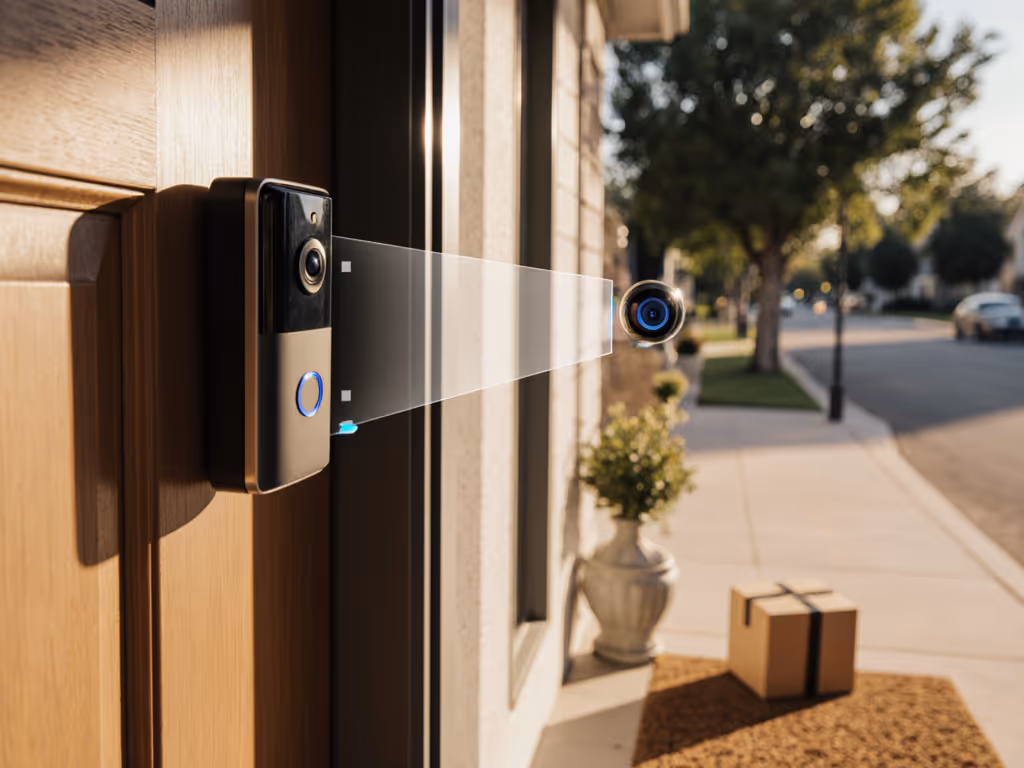
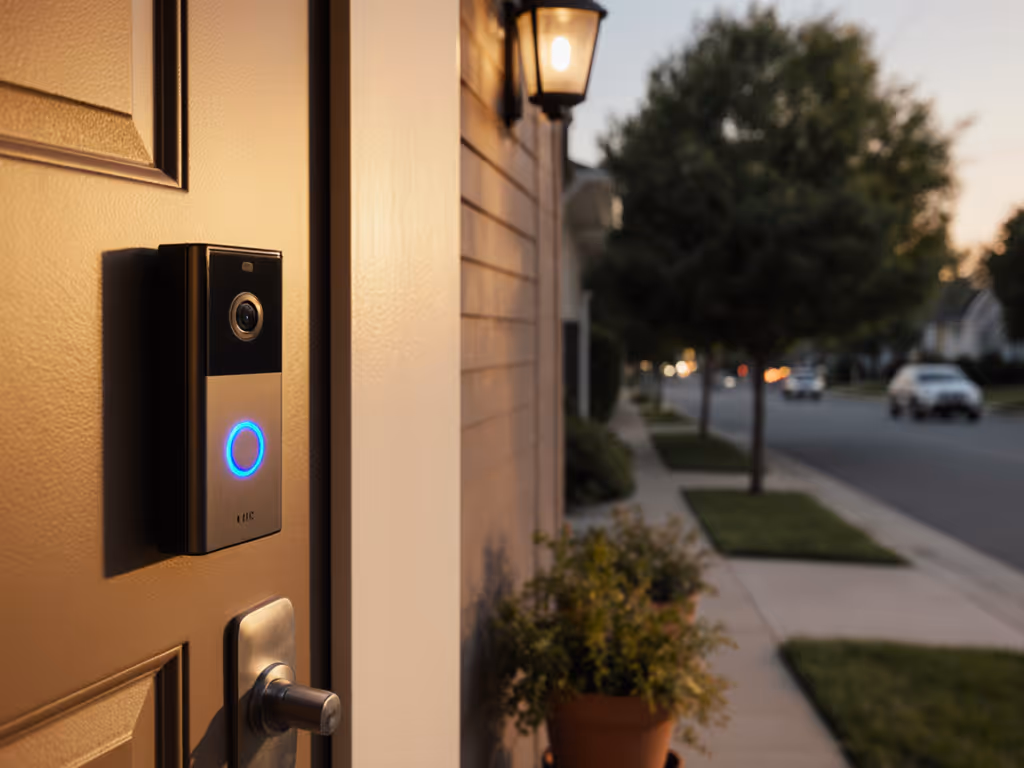
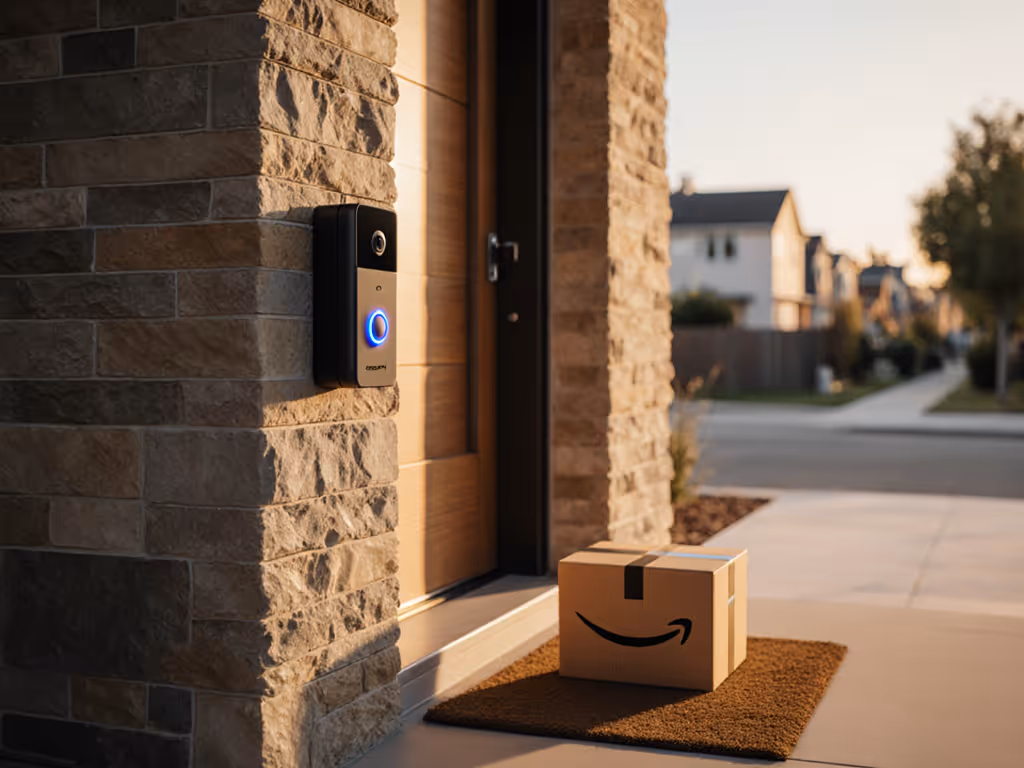
You've bought the latest doorbell camera, installed it on your porch, and configured everything perfectly, except now your delivery driver is a shadow, your visitor's face is cropped, and that package sits just outside the frame. An adjustable angle doorbell with custom field of view (FOV) capabilities solves a problem that flat-mount hardware can't: it lets you dial in exactly what you need to see, without rewiring or relocating your entire entry.
This article walks you through the why, how, and what-next of 360-degree viewing options and lens angle adjustment. I've tested positioning strategies across apartments, narrow stoops, and recessed doorways to build a framework that actually works on real porches.
Why Doorbell Angle Matters More Than Most People Admit
The doorbell camera you install at 45 degrees captures your porch perfectly. But your mailbox is to the left. Your neighbor's driveway is to the right. The delivery driver approaches from a tight angle, and you miss the crucial moment they set the package down.
Reliability is designed, not wished into existence. That means choosing an adjustable angle doorbell from the start prevents the frustration of poor coverage decisions locked in by permanent mounting. Not every porch and story is identical, and not every camera angle is a one-size-fits-all solution.
A doorbell with mounting flexibility and the ability to shift its field of view gives you control over what triggers alerts, which frames get stored, and whether you'll actually see a delivery before it happens. That's different from shiny features. Reliable alerts beat shiny features on real porches, and angle adjustment is foundational reliability.
Understanding Field of View and Coverage Zones
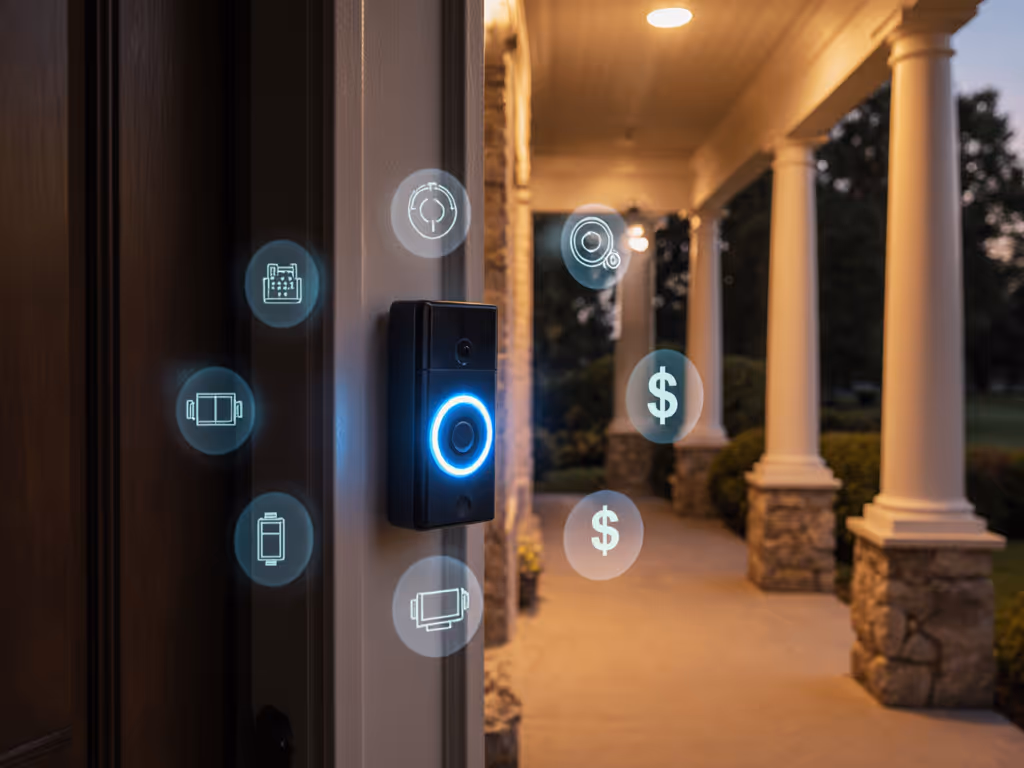
What "Adjustable Angle" Really Means
When a doorbell advertises an adjustable angle bracket, it's usually referring to two things:
- Physical mounting angle: The ability to tilt the camera up, down, or sideways on a hinged or ball mount, typically ranging from 30° to 135° depending on the bracket type.
- Digital cropping or zoom within the app: Some doorbells let you adjust the active detection zone or reframe the video stream, separate from the physical angle.
The best approach uses both. Physical angle first fixes your sightline; digital adjustments then refine where you trigger motion alerts. For angle fundamentals and positioning tips, see our optimal mounting angles guide.
How to Measure Your Doorway's Coverage Need
Before buying any doorbell, sketch your entry:
- Measure the distance from your doorbell location to where delivery drivers typically stop (usually 3-6 feet for porches, 10-20 for storefronts).
- Identify the left and right bounds: Where does your porch or courtyard begin and end? What's off-limits (neighbor's door, glass storm door reflection)?
- Note vertical sightlines: Do you want to see faces at normal eye height, packages on the ground, or both?
- Assess backlighting: Does your entry face a bright window, parking lot, or street? Afternoon sun angle matters.
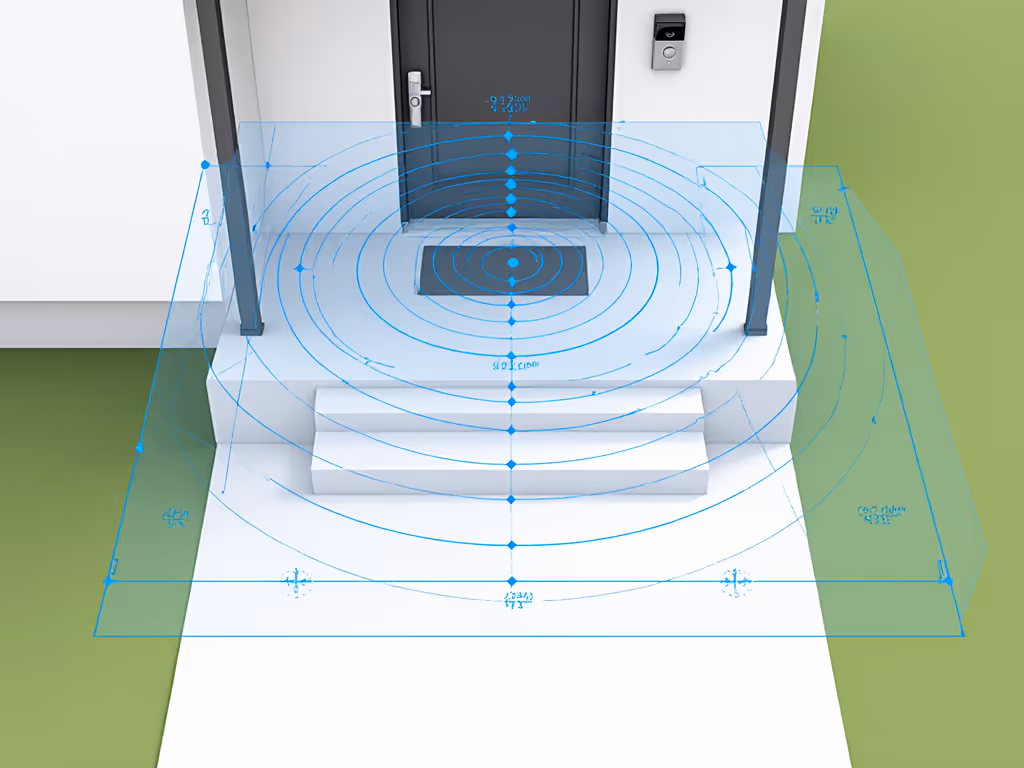
Take a photo of your entry and print it. Mark the camera location with a dot, then sketch the 110° to 120° typical field of view a doorbell has at standard lens settings. Is the mailbox in frame? The driveway? The delivery hotspot? If not, you need an adjustable mount to reposition. To plan precise coverage, use our FOV coverage guide to translate specs into real porch visibility.
Step-by-Step: Choosing the Right Adjustable Doorbell Model
Step 1: Determine Your Mounting Constraint
Before selecting a model, know whether you can:
- Drill into the frame (homeowners in houses or condos with permission).
- Use a no-drill clamp or wedge mount (renters, HOA-restricted properties, or anyone who wants reversibility).
- Mount to a recessed doorframe (narrow openings or apartment hallways with angled walls).
- Mount to glass or metal surfaces (storm doors, metal frames, less common but possible with adhesive mounts).
This constraint narrows your bracket options dramatically. A hinged angle bracket for a Ring doorbell is different from an adjustable mounting wedge designed for Blink. Mismatched hardware won't adjust correctly and can waste money. Renters can start with our no-drill renter installs for reversible mounting options that protect trim and deposits.
Step 2: Audit Your Wi-Fi Signal at the Doorbell Location
Here's where many people skip the critical step: fix the network first.
On a smartphone, use a Wi-Fi analyzer app (e.g., WiFi Analyzer on Android, iStumbler on Mac) and stand at your doorbell location. Log the signal strength in dBm (aim for -65 dBm or better; -80 dBm or worse means lag and dropouts) and the channel being used. If your router's Wi-Fi is on a DFS (Dynamic Frequency Selection) channel or a congested 2.4 GHz band shared with microwaves and baby monitors, your doorbell will struggle (even with a perfect field of view).
One January, a family's video doorbell was missing deliveries, showing 45-second notification delays. Logs revealed Wi-Fi roaming between channels and a battery voltage sagging in the cold. We moved the access point off a DFS channel, switched the bell's band preference, and wired it to a transformer for steady power. Delays shrank to eight seconds the same night. The camera angle hadn't changed. The network and power had.
If your signal is weak, buy a mesh Wi-Fi node or relocate your router before investing in an expensive doorbell. An adjustable angle won't help if notifications are unreliable.
Step 3: Match the Bracket to Your Doorbell Camera
Verify lens angle adjustment compatibility. Blink doorbells have a different mounting interface than Ring devices. Amazon's Blink doorbell uses a quick-release catch; Ring Video Doorbell models use a different screw mount. A generic adjustable bracket that claims "universal" compatibility may not hold the weight safely or allow full angle freedom.
Check the manufacturer's compatibility list. If it's vague, email support or look for verified buyer reviews mentioning your exact model. One poorly-rated bracket I tested arrived with a loose clamping mechanism that shifted the camera angle after two weeks of wind and vibration (useless for reliable alerts).
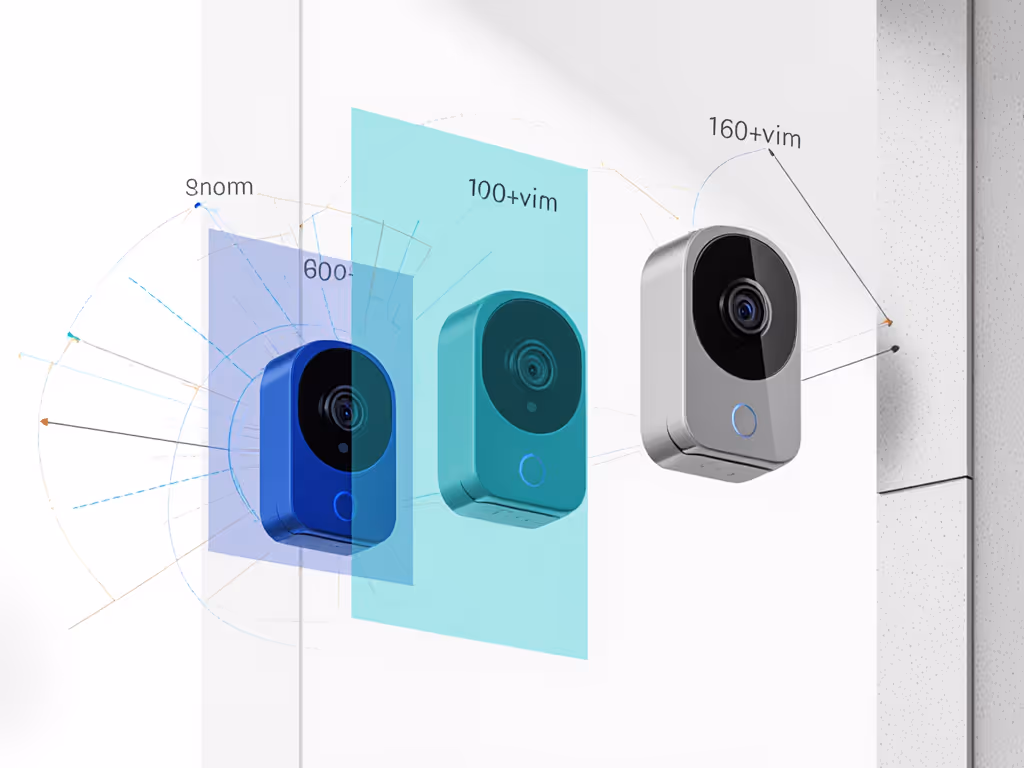
Step 4: Calculate Your Desired Field of View
Most doorbell cameras ship with a horizontal FOV between 110° and 180°. Here's the catch: wider isn't always better on a small porch.
- 140° FOV: Captures your full porch and a bit beyond. Good for medium-sized stoops; can show face detail at 5-8 feet.
- 160°+ FOV: Wide-angle extreme; fish-eye distortion; excellent for corner-to-corner coverage; harder to recognize faces at distance due to shrinkage.
- 110° FOV: Narrower, more detail; packages and faces clearer; less peripheral coverage; better for recessed doorways.
The physical angle bracket doesn't change your camera's native FOV, it repositions the camera so the native FOV points at the right target. If your doorbell camera has a 140° FOV but you tilt it 45° to the left, you're still seeing 140° of coverage, just shifted leftward.
Write down your desired aim point (e.g., "center on mailbox at 10 feet, include driveway from left edge to stoop"). Then adjust the bracket angle to point the camera at that target.
Step-by-Step: Installation and Positioning
Step 5: Install the Bracket and Mount the Doorbell
For no-drill adjustable mounts (most common for renters):
- Clean the door frame or surface with rubbing alcohol. Let it dry fully (two minutes minimum).
- Measure and mark the center of your planned camera location.
- Remove the bracket's adhesive backing and press firmly for 30 seconds. Check that it's level with a bubble level (important for consistent field of view).
- Wait 24 hours before mounting the doorbell camera to the bracket. Adhesive needs full cure time.
- Attach the camera to the bracket following the manufacturer's steps (usually a quick-release catch or screw interface).
- Verify the bracket's angle-locking mechanism is tight (check for any clicking or play before proceeding).
For hinged or ball-joint brackets (often found in aftermarket mounting kits):
- Mount the bracket base securely first, whether via lag bolt, clamp, or adhesive.
- Loosen (but do not remove) the ball joint or hinge fastener.
- Position the camera at your target angle, then tighten the joint while holding the camera steady.
- Take a test photo with your phone at the camera's location. Verify the angle captures your chosen sightline.
- Tighten fully, then check again after 24 hours. Vibration sometimes loosens the first time.
Step 6: Aim the Camera at Your Coverage Target
This is the moment where most people wing it. Don't.
Stand at the location where a delivery driver typically stops, then look back at your doorbell. You want to see:
- Your face clearly (aim for eye-line height, 5-8 feet away).
- The package drop zone (ground level if packages are set down; waist height if handed to you).
- Approach sightlines (the path from the street or parking lot leading to your door).
If your bracket allows stepless angle adjustment, start with a 0° baseline (pointing straight ahead), then move it in 5° increments until your sightline is captured. Photograph or timestamp the angle setting so you can replicate it if the bracket loosens.
Step 7: Configure Digital Motion Zones
Once the physical angle is set, log into your doorbell's app and:
- Draw motion detection zones that exclude areas outside your target coverage (e.g., sidewalk traffic, passing cars, tree movement).
- Enable object detection if available (most modern doorbells distinguish people, packages, and vehicles; older models only detect motion).
- Set sensitivity to medium or lower on the first day. False alerts from passing shadows will teach you the right level within 24-48 hours.
- Schedule quiet hours if you live near a busy street (e.g., turn off motion alerts between 10 PM and 6 AM unless something is on your porch for more than 10 seconds).
- Verify pre-roll capture is enabled: most doorbells record 5-10 seconds before motion is detected, critical for seeing the approach.
Testing Your Coverage: A Checklist-Driven Approach
You've installed and aimed. Now test:
Day One: The Benchmark Test
- Walk the approach path from the street/parking lot toward your door, then ring the doorbell. Watch the app. Did you see yourself the entire time?
- Record the notification latency (time from ring to alert arrival). Baseline should be 2-5 seconds on a stable network. If it's 15+ seconds, revisit your Wi-Fi signal or check for network congestion.
- Take a screenshot of the live feed. Note the time, angle, and any artifacts (glare, distortion, shadows).
- Document the angle setting on the bracket (e.g., "tilted 20° left, 5° downward") for future reference.
Days Two Through Seven: Real-World Scenarios
- Morning light: Does the sun hit glass, creating glare or backlighting?
- Afternoon light: Is there harsh shadow, blown highlights, or uneven exposure?
- Evening and night: Test night-vision mode. Is there IR glare on glass or a washed-out IR bloom?
- Package placement: Have a friend set a small box on the ground and on a chair. Can you see it clearly?
- Visitor at the door: Ring the bell from different distances (5 feet, 10 feet, 20 feet) and check face clarity.
- False alerts: Count how many cars, people on the sidewalk, or tree movement trigger alerts. Adjust motion zones or sensitivity if above one false alert per hour.
Keep notes with timestamps. "Tuesday 2:15 PM: Delivery driver visible and clear; notification arrived in 4 seconds. Thursday 10:30 AM: Backlighting too harsh; face blown out." Real patterns emerge by day five.
Common Angle Trade-Offs and How to Navigate Them
The Wide-Angle Trap
A 160° or 180° FOV captures everything, but faces shrink and details blur. If your primary goal is package detection and visitor recognition, a narrower field of view aimed at the right spot often beats a wide lens aimed generically. Adjustable mounting lets you sacrifice peripheral coverage for central clarity, a good trade on cramped stoops.
The Recessed-Doorway Challenge
If your door is set back from the main wall (common in condos and apartments), direct mounting won't show the approach. An angled bracket that extends the camera outward 2-3 inches and tilts it toward the path compensates. Test with the bracket first; don't assume your existing hardware will work. See our tested FOV fixes comparing wedges, mirrors, and multi-camera setups for recessed entries.
The Narrow-Frame Restriction
Apartment hallways and townhome entries are often too tight for standard brackets. Wedge or tension-clamp designs that spread the clamping force over a wider area on the frame prevent damage and work better than adhesive-only mounts in these tight spaces. If clamping isn't possible, a low-angle adhesive mount aiming downward and outward can still capture faces and packages.
The Night-Vision Over-Tilt
Tilting the camera too steeply downward at night can cause IR flare (the infrared LEDs on the doorbell bounce off glass or nearby surfaces and wash out the image). A 15-20° tilt is usually safe; beyond 30° risks problems. Always test night mode before permanent installation.
Network and Power Optimization for Reliable Alerts
An adjustable angle solves sightline. But if your network or power is unstable, you'll miss alerts or experience lag (defeating the whole purpose).
Wi-Fi Optimization
- Monitor channel congestion. If your router broadcasts on 2.4 GHz Channel 6, and your neighbor uses Channels 5-7, you're fighting interference. Switch to Channel 1 or 11 (non-overlapping) or use 5 GHz if your doorbell supports it.
- Enable band steering on your router so 5 GHz-capable doorbells move to the less-congested band.
- Reduce 2.4 GHz transmit power if your router is very close and causing saturation.
- Disable DFS channels on your router if your doorbell is on 5 GHz; DFS channels are more reliable for less congestion, but some devices roam poorly.
- Check for roaming lag: If your doorbell bounces between your main router and a mesh node, notifications may delay. Lock the doorbell to one node temporarily and measure latency before and after.
Power Considerations
Battery-powered doorbells lose capacity in cold weather and need frequent recharging if on a high-traffic door. For power planning details, read our wired vs battery comparison to understand reliability, install complexity, and long-term costs. If possible:
- Upgrade to wired power: Run a transformer (usually 16-24V AC from your existing doorbell circuit or a new one) to your camera. Wired power eliminates battery anxiety, lowers night-vision lag, and removes cold-weather surprises.
- If battery only: Set realistic expectations. Test battery life in the coldest week of your climate; most manufacturers' claims are 3-6 months at 70°F, not 0°F. Budget for monthly recharge in winter.
- Consider solar accessories: Supplementary solar panels work only on south/west-facing entries with consistent sunlight; efficiency is poor in cloudy climates. Validate before buying.
Maintenance and Re-Adjustment Over Time
Bracket Tightness Checks
Every three months, physically tug your doorbell sideways and check for play in the bracket. Wind, vibration, and thermal expansion can loosen even well-installed mounts. A loose bracket slowly drifts angle and ruins your carefully tuned field of view.
If drift is detected:
- Log your current bracket angle (photograph it or use a phone level app).
- Loosen the angle fastener slightly.
- Re-aim the camera at your original target sightline.
- Tighten fully and verify no play remains.
Seasonal Lens Cleaning
Dirt, dust, spider webs, and water droplets accumulate on doorbell lenses, especially in humid or coastal areas. Every 30 days, wipe the lens gently with a dry microfiber cloth. If you see a haze or distortion in the live feed, cleaning often restores clarity within a day. Skipping this is a false economy; a 10-cent wipe saves hours of troubleshooting later.
Testing After Major Weather Events
After heavy wind, hail, or extreme temperature swings, run a quick coverage test (walk the approach, ring, check the stream). Brackets can shift, and adhesive mounts can weaken in cold-to-hot cycles. Early detection prevents a month of poor coverage going unnoticed.
Troubleshooting Poor Coverage After Adjustment
Problem: Notification Latency Over 10 Seconds
Cause: Network congestion, Wi-Fi signal weakness, or overloaded router. Fix:
- Verify Wi-Fi signal strength at the doorbell location (target -65 dBm or better).
- Use a Wi-Fi analyzer to confirm channel overlap and interference.
- Restart your router and any mesh nodes.
- Move the doorbell to a nearer mesh node or access point.
- If latency persists and signal is strong, check your internet ISP for upstream congestion (can't fix, but worth knowing).
Problem: Faces or Packages Cropped or Blurry
Cause: Angle too steep, focus too close, or lens-to-subject distance mistimed. Fix:
- Loosen the bracket and tilt the camera 5° back toward horizontal (less extreme angle).
- Measure the distance from your doorbell to where you stand when ringing the bell; most doorbells focus at 3-8 feet, too close or too far blurs detail.
- Verify the lens is clean (dust blurs edges).
- Check your doorbell's app for focus-assist or macro mode settings; some doorbells let you adjust digital focus.
Problem: Too Many False Alerts from Sidewalk Traffic
Cause: Motion zone includes the street or sidewalk, or sensitivity is set too high. Fix:
- Redraw your motion detection zone to exclude the sidewalk edge.
- Lower sensitivity to medium or low.
- Enable object detection ("people only" or "package only" modes) if available.
- Test for three days; false-alert patterns usually stabilize by then.
Problem: Night Vision is Washed Out or Over-Exposed
Cause: IR flare (infrared bouncing off glass or surfaces), extreme tilt angle, or exposure compensation too high. Fix:
- Reduce the angle tilt to 15° or less.
- Move any reflective surfaces (glass storm door trim, metal gutters) away from the IR light path if possible.
- Check your doorbell's app for IR-intensity or exposure controls; reduce these to 50-75% if over-exposed.
- If the doorbell has a night-mode schedule, verify it's set correctly (e.g., 6 PM to 6 AM, not 6 AM to 6 PM).
Conclusion: Reliability Requires the Right Angle at the Right Time
An adjustable angle doorbell with true mounting flexibility and lens angle adjustment is not a luxury, it's the foundation of dependable alerts. But the equipment alone isn't enough. Your network must be stable, your power must be steady, and your positioning must be deliberate.
Start with a Wi-Fi audit (fix the network first), then choose a bracket matched to your doorbell and install constraint. Aim carefully at your coverage goal, configure motion zones, and test over a full week across all daylight conditions. Document your angle setting so future adjustments are easy. Monitor the bracket for drift quarterly, and clean the lens monthly.
Reliable alerts beat shiny features on real porches. The doorbells that succeed aren't the ones with the most megapixels or the widest FOV, they're the ones that are aimed right, powered steadily, and backed by a solid network. An adjustable angle mount is the tool that makes that possible.
Your Next Steps
- Audit your porch: Sketch your entry, mark the delivery hotspot, and identify any backlighting or obstacle issues.
- Test your Wi-Fi: Use an analyzer app at your planned doorbell location and confirm signal strength above -65 dBm. If weaker, upgrade your router or add a mesh node before buying a doorbell.
- Choose your bracket: Match it to your doorbell model and mounting constraint (drill, no-drill, adhesive, clamp). Check compatibility lists and read verified reviews.
- Install and aim: Use a level, target your coverage zone precisely, and document the angle. Don't skip this step.
- Test for a full week: Morning, afternoon, evening, and night. Log latency, false-alert counts, and image clarity. Adjust motion zones and sensitivity based on real patterns (not guesses).
- Maintain quarterly: Check bracket tightness, clean the lens, and re-test after weather events. Early maintenance prevents drift and failures.
Your doorbell's job is simple: alert you when someone or something important is at your door. Make sure it's aimed, powered, and networked to do that job reliably. Everything else is negotiable.
Related Articles